
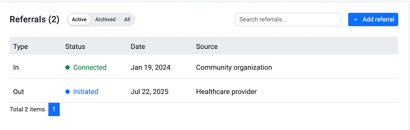
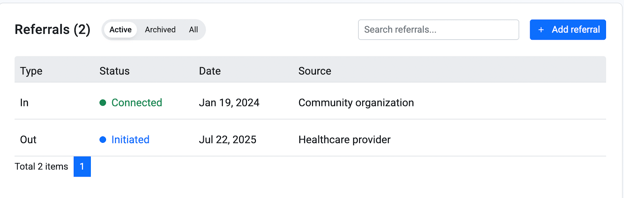
The Referrals tab within the Client Toolkit allows you to track and manage both incoming and outgoing referrals for a client. This centralized view helps you monitor connections with external providers, update engagement statuses, and maintain a clear history of care coordination.
Who can use this feature
- Organization Administrators: Can add, edit, view, and export referrals.
- Team Members: Can add, edit, view, and export referrals.
- Interns / Volunteers: Can add, edit, and view referrals. Cannot export.
- Law Enforcement / Advocates: Do not have access to the Referrals feature.
Before you begin
You must have the client's profile open in the Client Toolkit. If you need help accessing a client profile, see "Overview of the clients dashboard" in Related Articles.
Step-by-step instructions
How to add a new referral
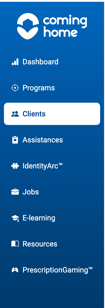
- Click on the “Clients” tab on the left hand side bar
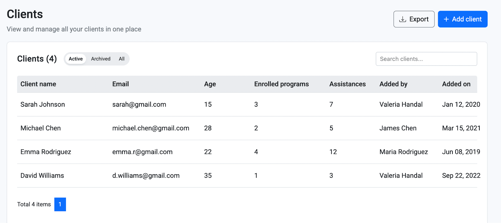
2. Select the client you wish to track the referral for
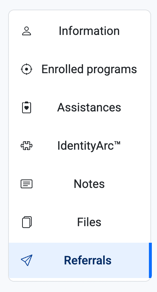

-
- In : referrals received for the client from external organizations or partners.
- Out: referrals initiated by your team to external providers or services.
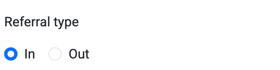
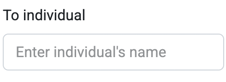
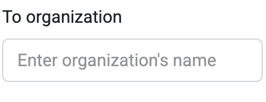
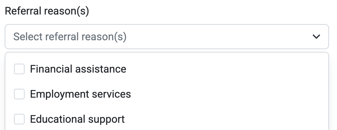
Depending on the type of referral you select, you’ll have different options to fill out below.
Referrals In:
If you selected “In” then follow the next steps:
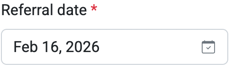
- Enter a ‘Referral Date’ for when you client was referred to your organization.
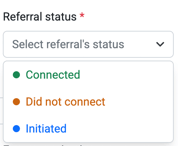
-
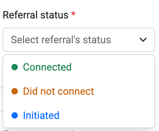
- Connected: The individual has successfully connected with your organisation and engagement has begun.
- Did not connect: The individual did not engage with your organisation after the referral (e.g., declined, unreachable, or referral closed).
- Initiated: A referral has been received by your organisation but engagement has not yet been confirmed.
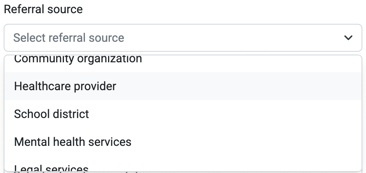
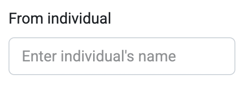
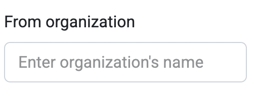
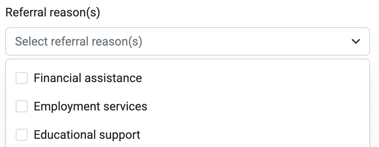
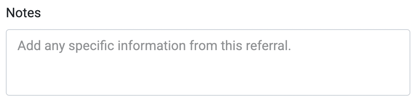
Referrals Out
If you selected “Out”, follow the next steps:
1. Enter a Referral Date for when your client was referred to an external organization or service.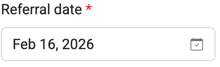
- Connected: The individual successfully connected with the external organization or service and engagement has begun.
- Did not connect: The referral did not result in engagement with the external service (e.g., declined, unreachable, or referral closed).
- Initiated: The referral has been sent to another organization or service, but connection or engagement has not yet been confirmed.
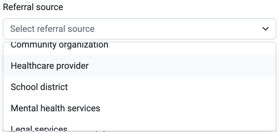
Editing a Referral
To edit a referral entry click on the paper and pen icon button on the right side of a referral entry.


As a client progresses, you will need to update their referral status (for example, changing a status from "Initiated" to "Connected").
2.Locate the referral you want to update in the dashboard list.
3.Click the paper and pen icon (Edit) on the far right side of that specific referral entry.
4.Update the necessary fields, such as changing the Referral Status or adding new Notes.
5.Save your changes.
Archiving a Referral
To archive a referral entry click on the red box icon button on the right side of a referral entry.


If a referral was entered in error or is no longer relevant to the client's active record, you can archive it.
1.Navigate to the client's Referrals tab.
2.Locate the referral you want to remove.
3.Click the red box icon (Archive) on the far right side of the referral entry.
4.The referral will be moved from the "Active" view to the "Archived" view.
Result
You have successfully added, updated, or archived a referral. The Referrals dashboard will now reflect the most current state of the client's external care coordination.
Tips / Best Practices
- Always update the Referral status as soon as you confirm whether a client successfully engaged with an external provider. Leaving statuses as "Initiated" indefinitely makes it difficult to track service gaps.
- Use the filters at the top of the Referrals dashboard (Active, Archived, All) to quickly sort through a client's referral history.
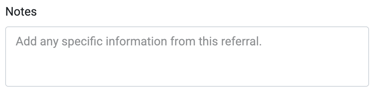
- The Notes section is critical for outgoing referrals. Use it to document specific contact instructions, urgency levels, or barriers the client might face when trying to connect with the external agency.
Related Articles
- Overview of the client toolkit
- Overview of referrals
- How to create a referral (inbound and outbound)
Need more help?
If you still have referall information issues, contact your Organization Administrator for help adding new service categories.